Hello!
And welcome to another Cookie Cutter Christmas card. I shared an early view of this card on Instagram last week and it got a lot of love over there. I was really pleased with how this card turned out but what do you think??
 Here are my Top Tips for this card with this super adorable reindeer ;-)
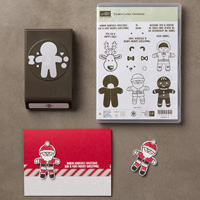
TOP TIP #1: Stamp him in basic black onto crumb cake card.
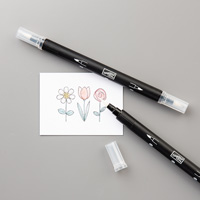
TOP TIP #2 : I coloured him in using a blender pen and ink pads. First I coloured the face in crumb cake then added shading with tip top taupe. Then I coloured his antlers using chocolate chip then went back over them with tip top taupe. I used Real Red for his nose.
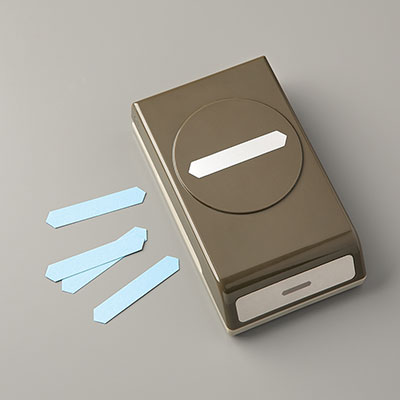
TOP TIP #3 : I like to punch him out using the matching punch but think that trimming around his antlers by hand just finishes him off perfectly.
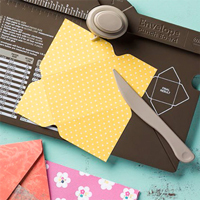
TOP TIP #4 : Make your own envelopes for this size card (10.5cm x 10.5cm or 4.1" x 4.1")
TOP TIP #5 : If you don't have an envelope punch board to do that then be sure to pop back here on Saturday for some extra special offers running for just 5 days celebrating World Cardmaking Day.
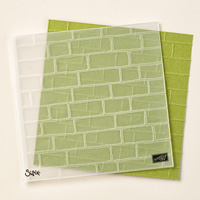
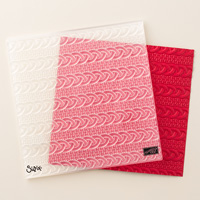
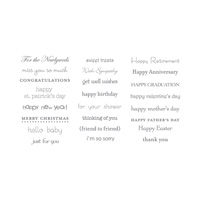
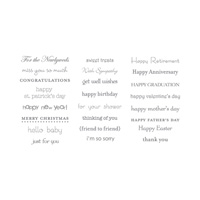
 I'm in love with the cable knit embossing folder! I used the Classic Label to punch the sentiment which is from the Teeny Tiny Sentiments set.
 A top-ish view of the fold. I really enjoyed making this card especially as I hadn't made one in this shape for years! My friend Amanda already made a fab tutorial for this square card HERE, just omit the strip going across for this version.
That's all for today but don't forget my Prize Draw for September with any order ;-)
 Thanks for looking!
Shop Online With Me

And welcome to another Cookie Cutter Christmas card. I shared an early view of this card on Instagram last week and it got a lot of love over there. I was really pleased with how this card turned out but what do you think??

TOP TIP #1: Stamp him in basic black onto crumb cake card.
TOP TIP #2 : I coloured him in using a blender pen and ink pads. First I coloured the face in crumb cake then added shading with tip top taupe. Then I coloured his antlers using chocolate chip then went back over them with tip top taupe. I used Real Red for his nose.
TOP TIP #3 : I like to punch him out using the matching punch but think that trimming around his antlers by hand just finishes him off perfectly.
TOP TIP #4 : Make your own envelopes for this size card (10.5cm x 10.5cm or 4.1" x 4.1")
TOP TIP #5 : If you don't have an envelope punch board to do that then be sure to pop back here on Saturday for some extra special offers running for just 5 days celebrating World Cardmaking Day.


That's all for today but don't forget my Prize Draw for September with any order ;-)
Shop Online With Me
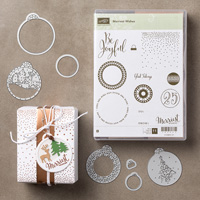
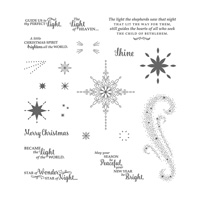
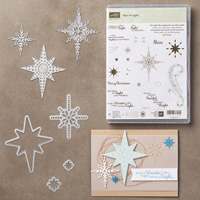
Products Used to create this project:
 |
 |
 |
 |
 |
 |
 |
 |
 |
 |
 |
 |