Hellooo there,
Another busy weekend running to a couple of deadlines here as well as having to go to work so I've got a great card with a Top Tip for inking your paper edges to share with you today :-)
So, let me show you the card...
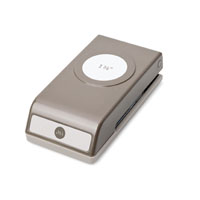
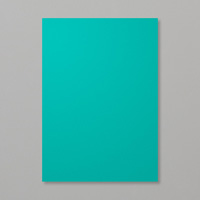
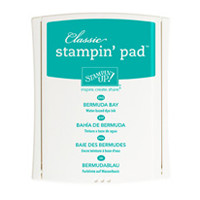
I started with the new Kaleidoscope papers from the Spring/Summer catalogue for this card, I love the mix of Bermuda Bay mixed with Black, Crushed Curry and Strawberry Slush. (Strawberry Slush has been my "go to" colour the last couple of weeks here, I made one of this weeks class cards with it too ;-) It has a certain summery vibe that when the sun is shining (or it should be!) it just springs to mind.) Anyway, I also used the Petit Pennants Punch to create this cute (or cool?) bow tie look...
As you can see I simply punched two Basic Grey card pennants and two DSP ones too, I inked the paper with a sponge to make them pop a little against the busy paper and adhered them to the grey pennant, just letting the ends overhang to get the little border. I adhered the centre points under the brad with glue and used a dimensional under the wide end.
Simple, stamped and die cut Itty bitty banner sentiment. Perfect!
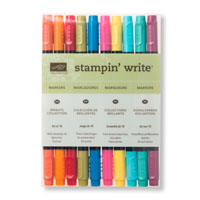
OK, inking the edges of your paper. I'm sure you will agree the "cloudy" style of inking (used on the bow tie) would not have worked for the larger part of this card, I did think however that the edges needed defining, so I did this...
Now, just in case you don't know this {:-)} here is my
TOP TIP: Hold the paper with side you want showing facing you and hold a marker pen, brush tip side, straight up, run the pen along the edges (and this way if you slip it will go underneath).
Of course you can stop at this side only line, it depends on the look your after, I wanted it to show a little more for this card (scroll down to see) but say a white on white card with layers would be fab with just the sides inked, don't you think?
So, to define more, but keep it CAS, just tip the pen to a 45 degree angle and let it run around the top edges to make a slightly more obvious line, Voilà!
OK, that's all from me for today, I hope you liked today's card and that my little tip will help someone?
Thanks as ever for looking, back tomorrow with more :-)
Stampin Hugs,
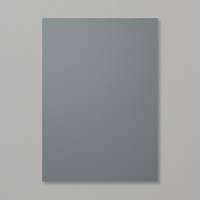
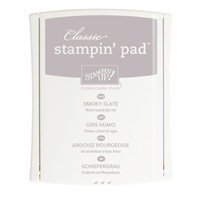
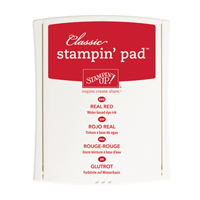
Products Used to create this project: